
This QuickStart will guide you through setting up your Medjed.ai account and running your first instance in just a few steps.
1. Sign Up & Add Credit
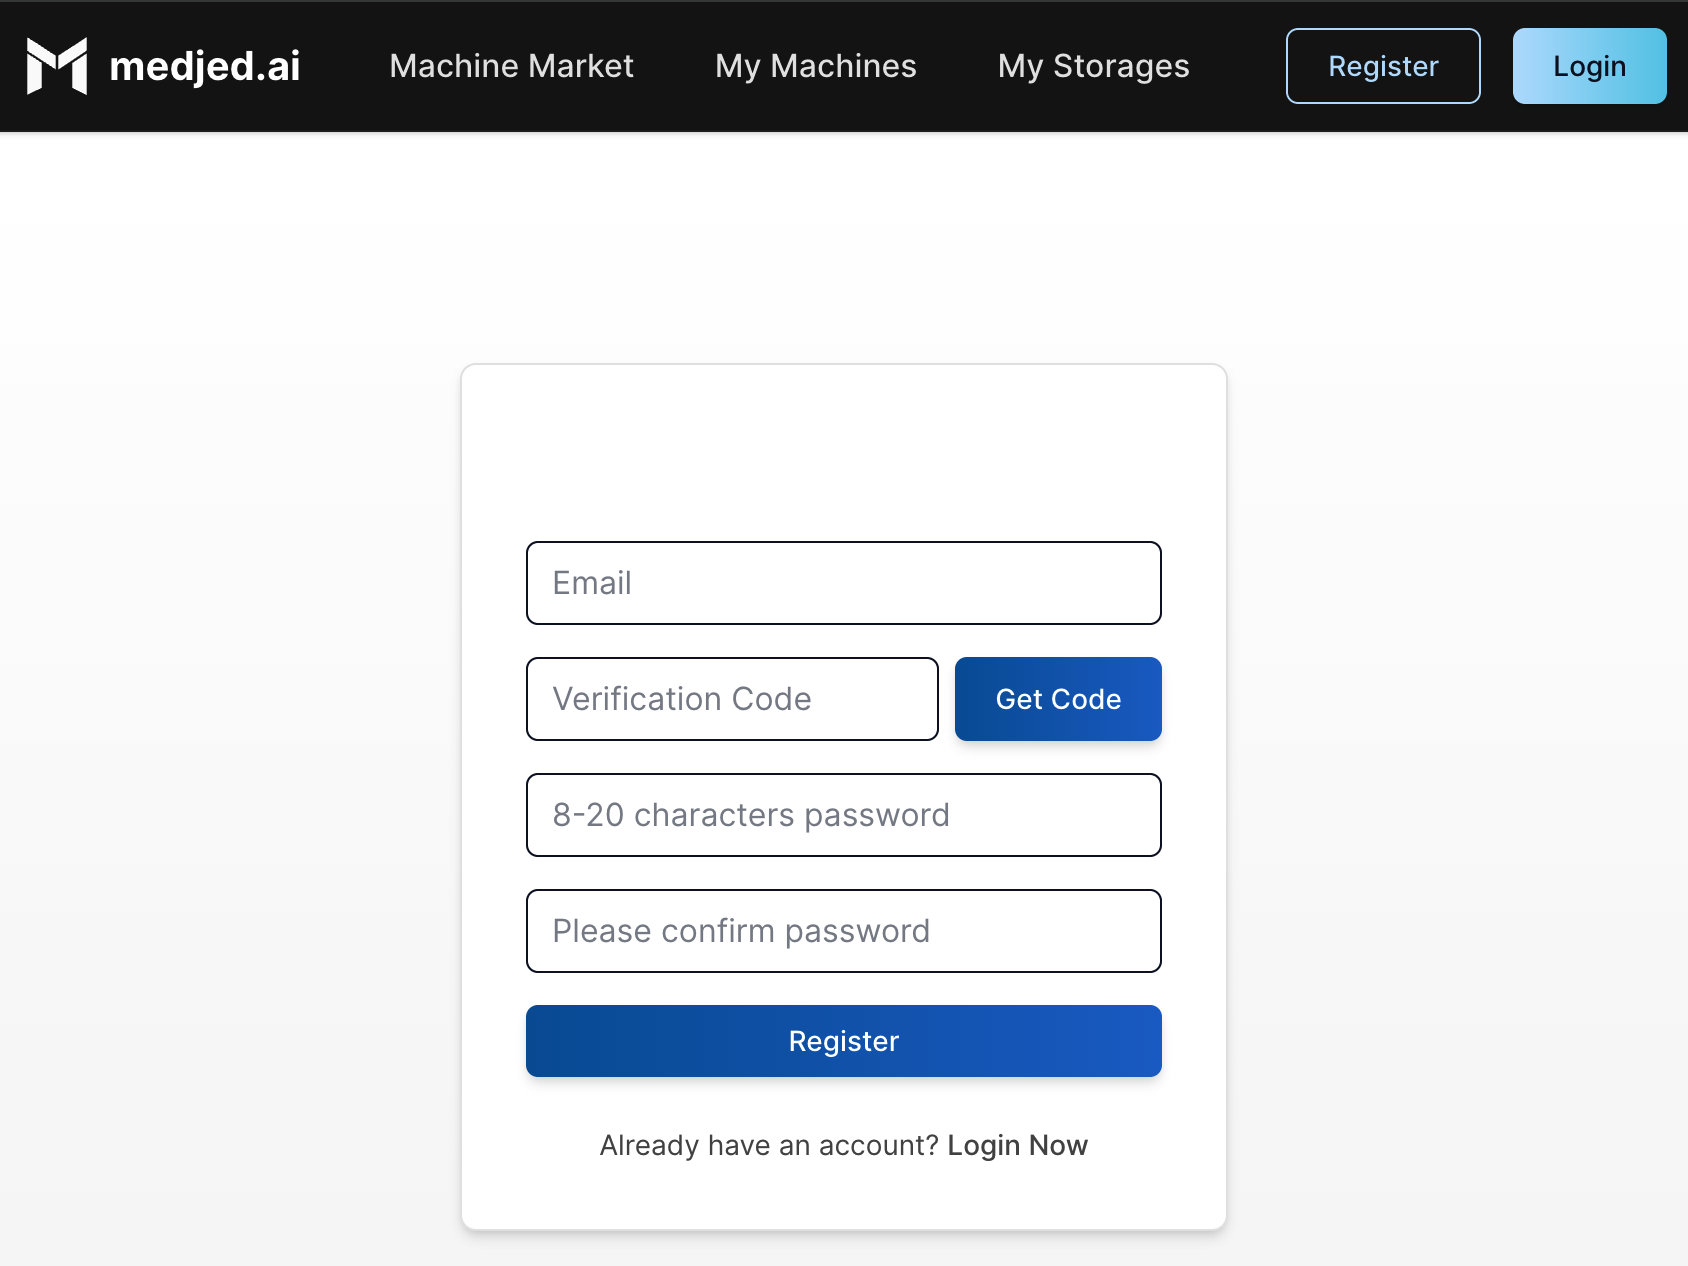
Section titled “1. Sign Up & Add Credit”Create Your Account
Section titled “Create Your Account”- Visit Medjed.ai
- Click Sign Up and complete the registration process
- Verify your email address to activate your account
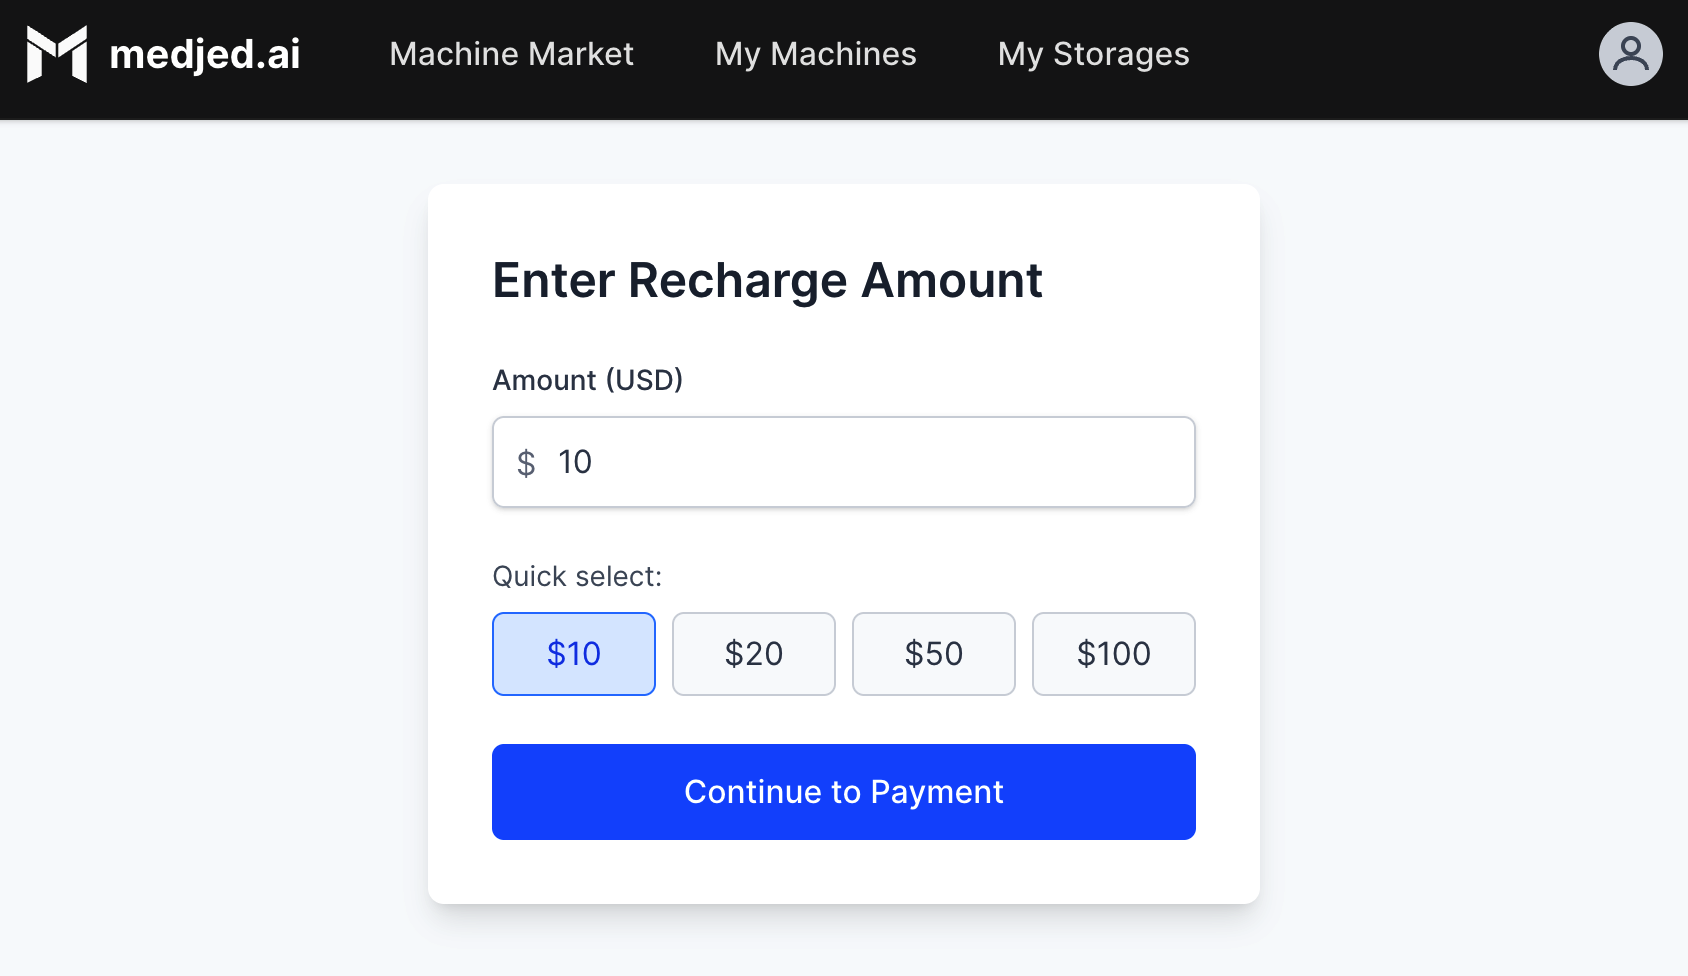
Add Payment Method
Section titled “Add Payment Method”- Log in to your Medjed.ai account
- Navigate to the Recharge section
- Add a valid credit card or set up USDC cryptocurrency payment
- Deposit funds to your account (minimum $5.00 recommended)
2. Prepare to Connect
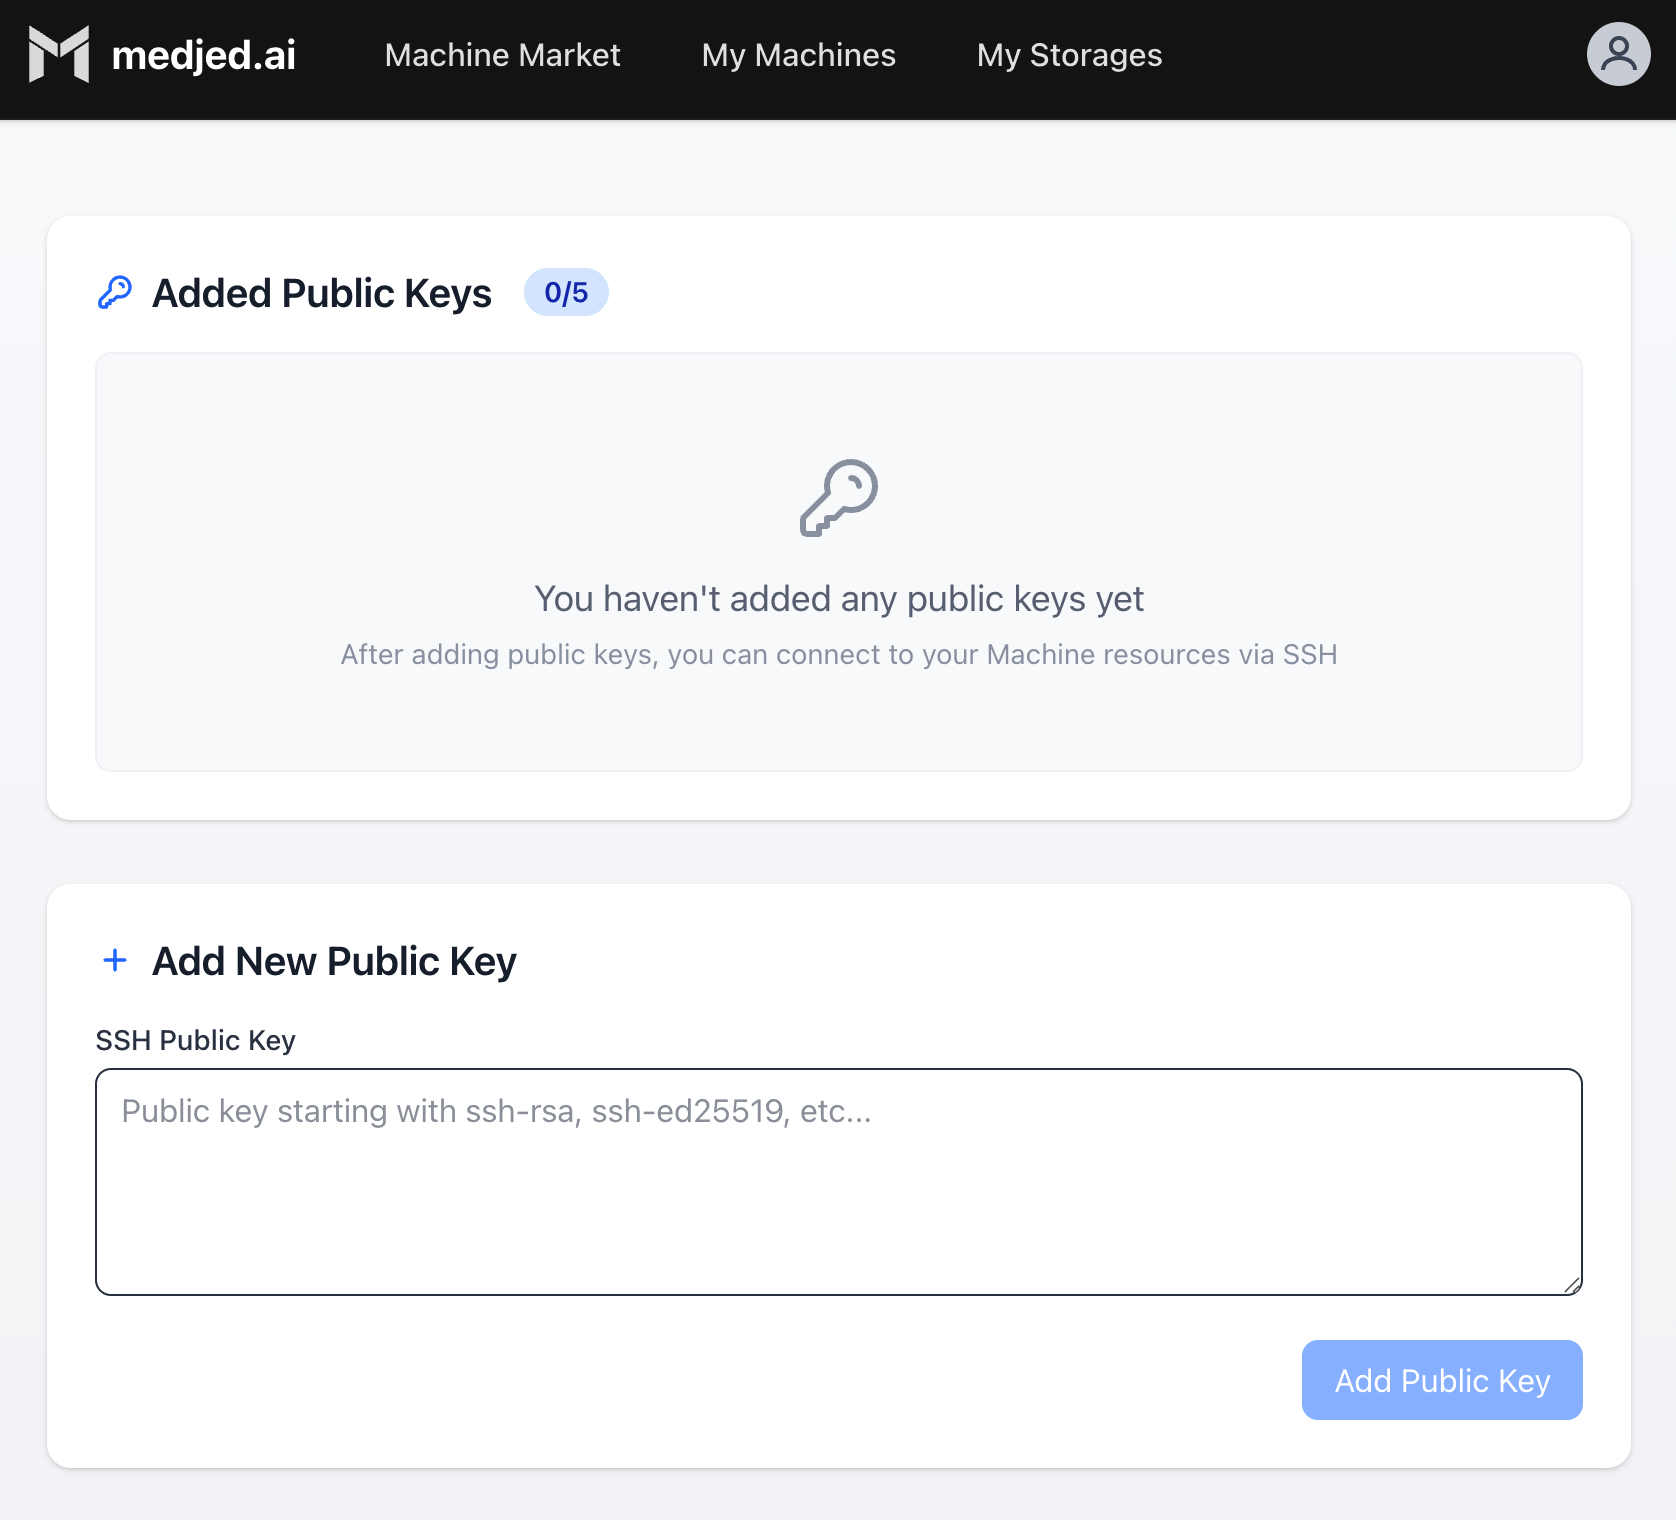
Section titled “2. Prepare to Connect”Set Up SSH Access
Section titled “Set Up SSH Access”-
Generate an SSH key pair on your local machine:
Terminal window ssh-keygen -t ed25519 -C "your_email@example.com" -
Navigate to the Public Keys page in Medjed.ai
-
Upload your public SSH key (typically
~/.ssh/id_ed25519.pub) -
Your SSH key is now configured for accessing instances
3. Launch Your First Instance
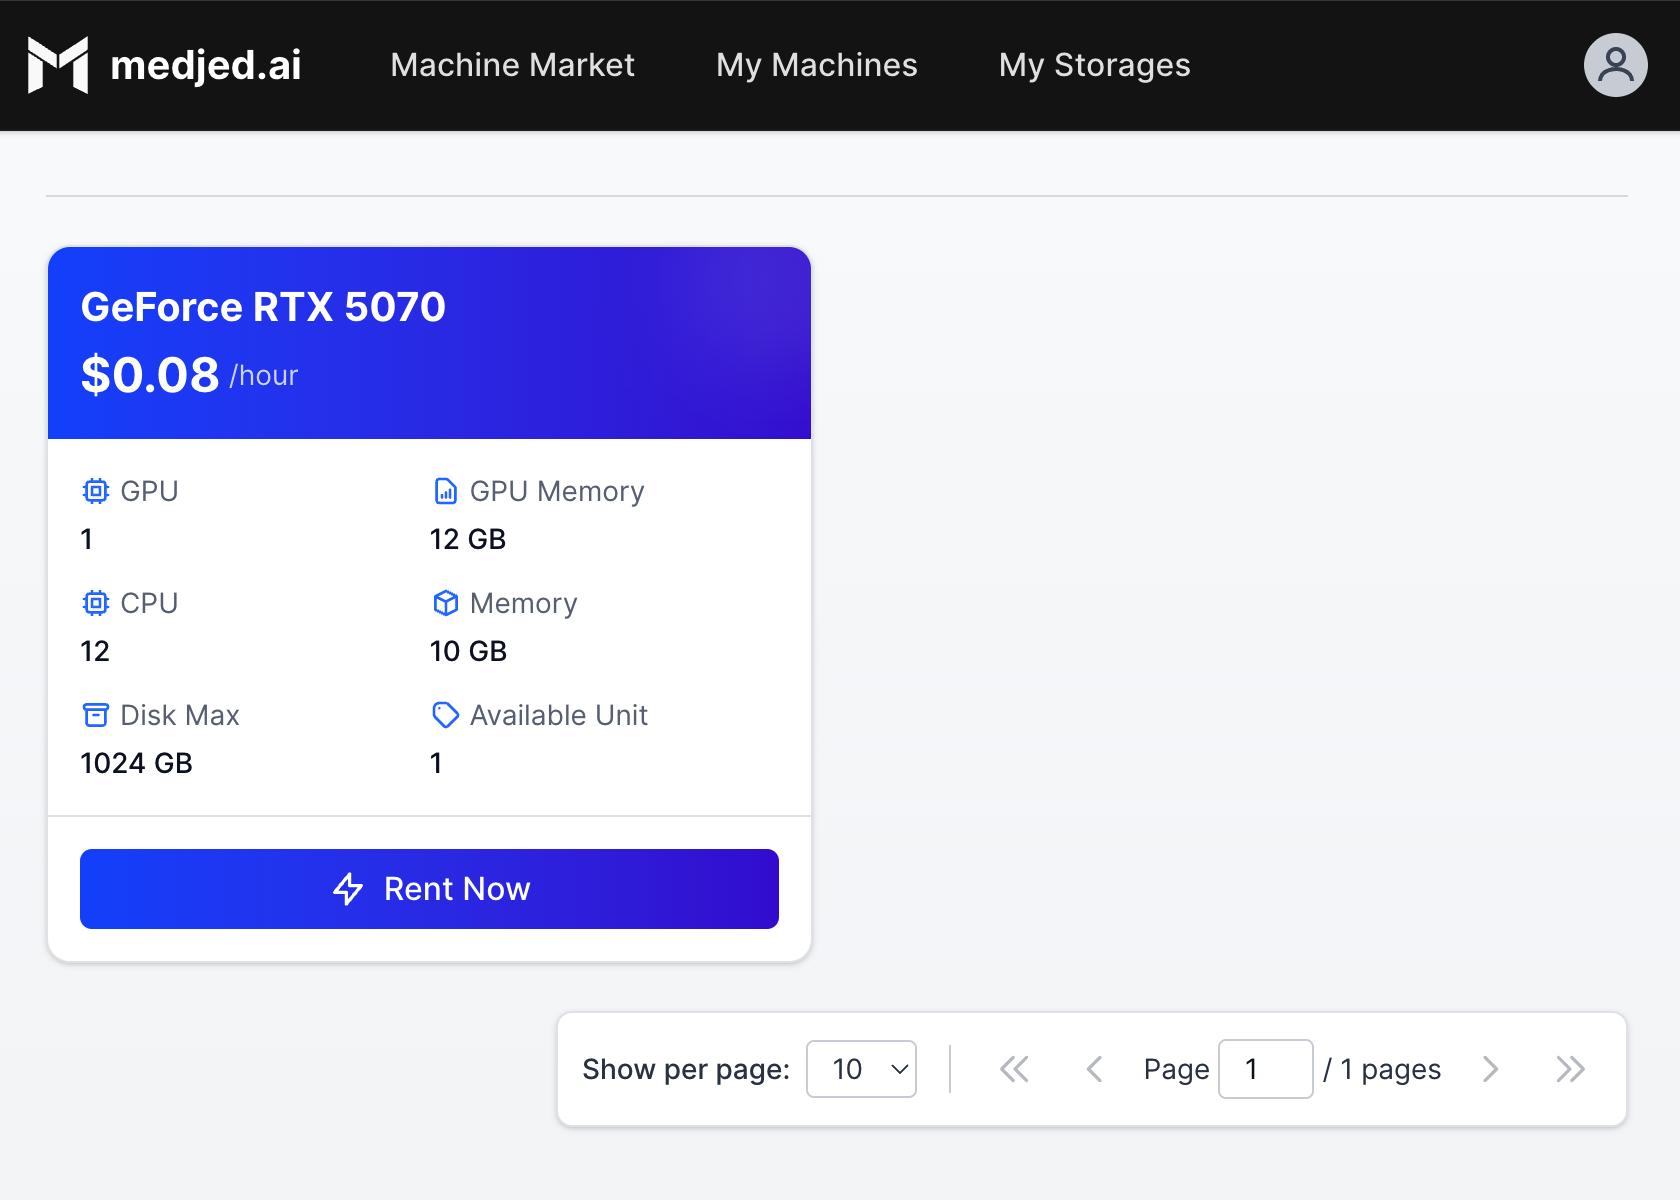
Section titled “3. Launch Your First Instance”Browse the Machine Market
Section titled “Browse the Machine Market”- From the navigation menu, select Machine Market
- Filter machines by:
- GPU type (NVIDIA H200, H100, RTX PRO 6000, etc.)
- GPU count and memory
- CPU cores and RAM
- Price per hour
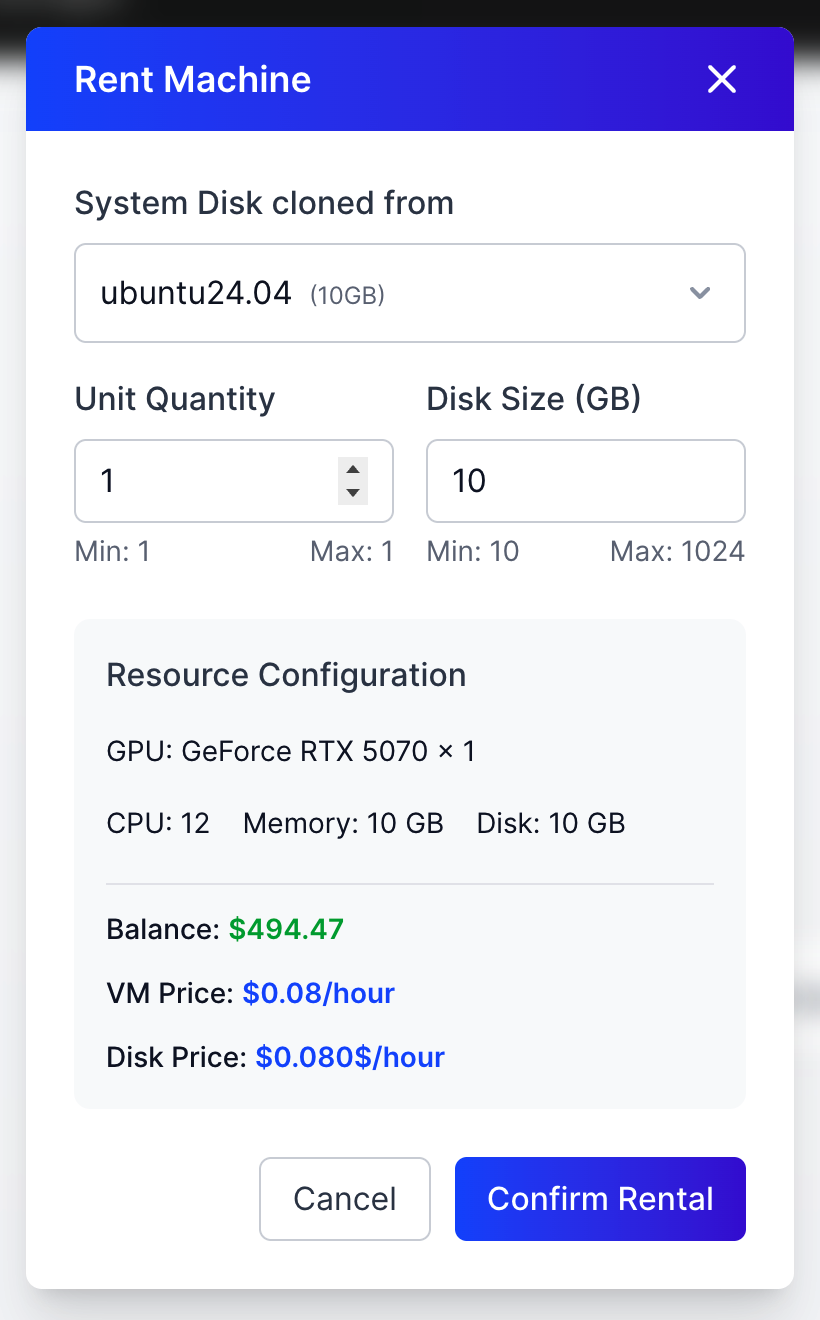
Deploy an Instance
Section titled “Deploy an Instance”- Click on a machine that meets your requirements
- From the “System Disk cloned from” dropdown, select either a fresh system image or a previously detached disk in Detached State

-
Configure instance settings:
- Disk size (permanent, cannot be changed later)
- SSH key selection
- Additional environment variables (if needed)
-
Click Deploy to launch your instance
-
Instances typically start in approximately 10 milliseconds, with no waiting required
-
Once running, use the Connect button to access your instance via SSH
4. Manage Your Resources
Section titled “4. Manage Your Resources”Manage Instances
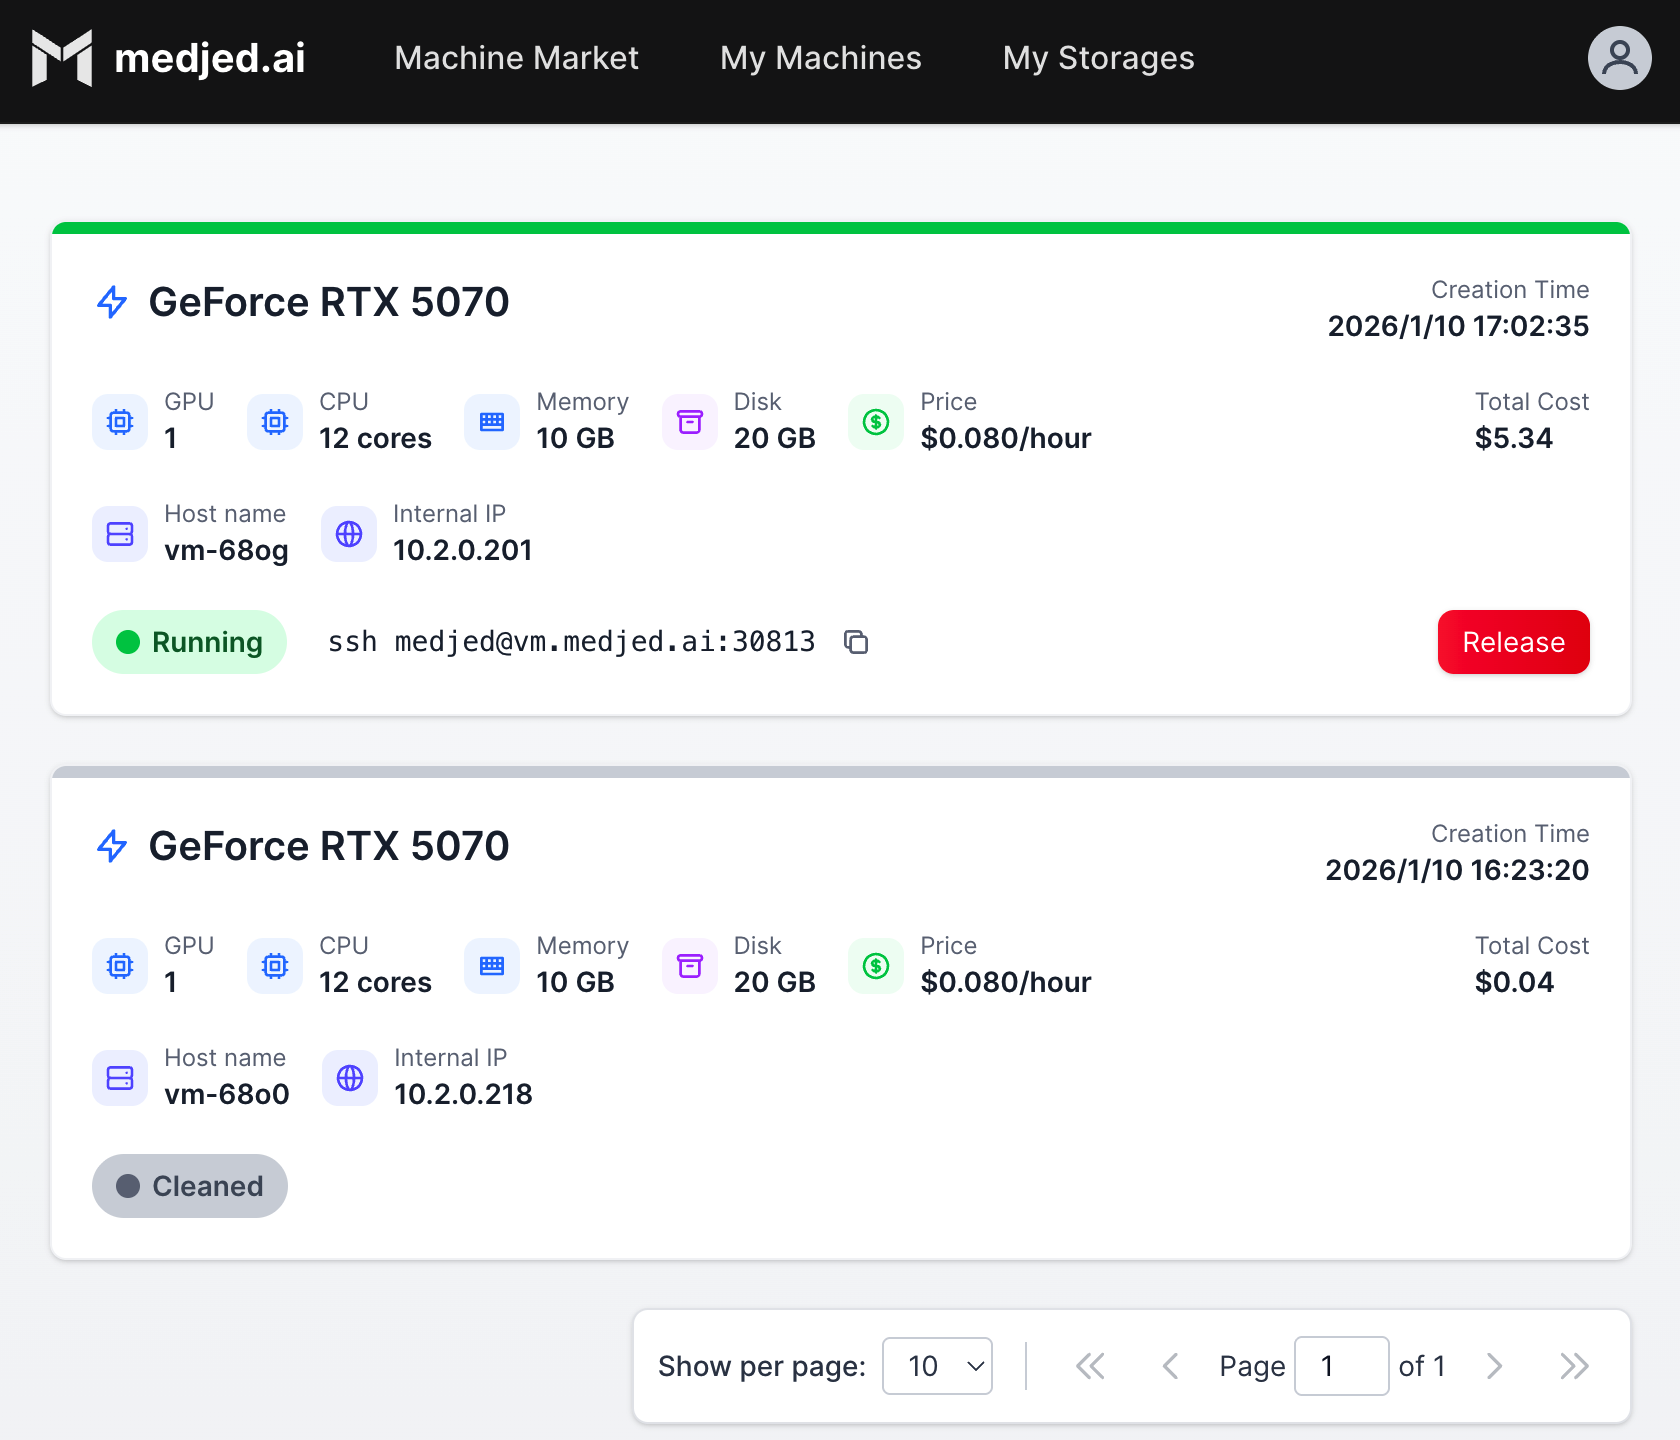
Section titled “Manage Instances”- Navigate to My Machines to view all your instances
- Available actions:
- Start/Stop: Pause/resume instance (storage still incurs charges when stopped)
- Connect: Access via SSH or Jupyter
- Edit: Modify instance settings (limited to certain configurations)
- Delete: Permanently remove instance and associated resources
Manage Storage
Section titled “Manage Storage”- Navigate to My Storages to view all your storage volumes
- Available actions:
- Attach: Connect storage to running instances
- Detach: Disconnect storage from instances
- Release: Permanently delete storage and stop charges

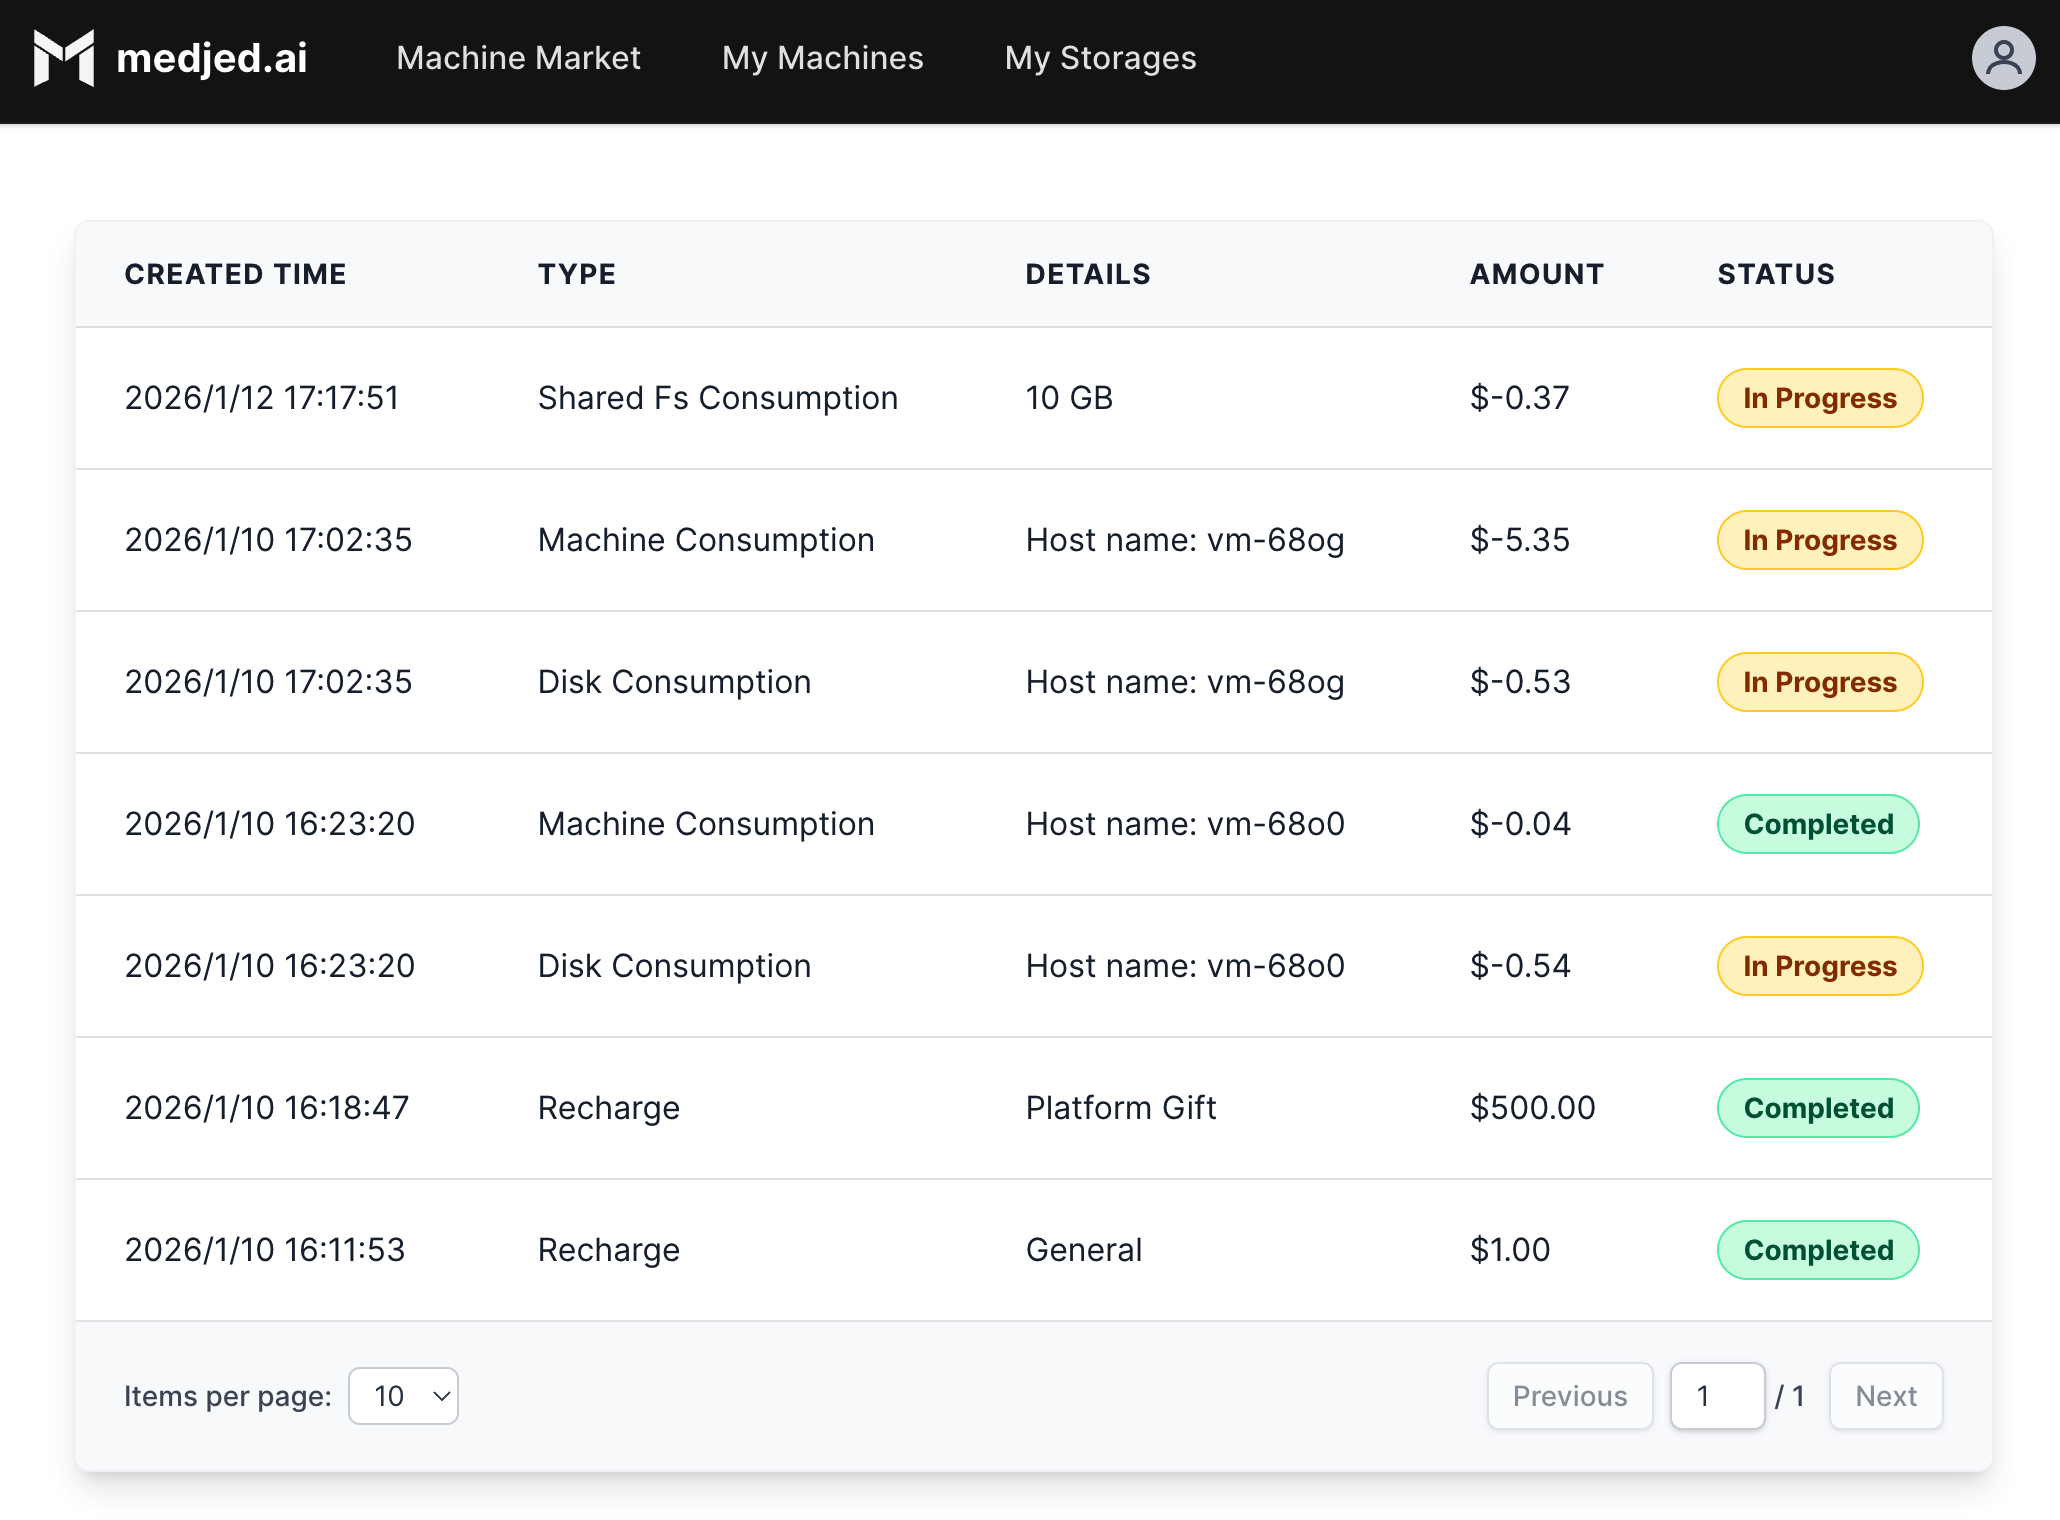
Important Billing Notes
Section titled “Important Billing Notes”- Instance Billing: Charged per hour based on GPU type and resources
- Storage Billing: Charged per GB per hour regardless of instance state
- Auto-stop: Instances will automatically stop when your balance reaches zero
- Resource Release: Always release unused instances and storage to avoid unnecessary charges
5. Common Questions
Section titled “5. Common Questions”What is the minimum deposit amount?
Section titled “What is the minimum deposit amount?”The minimum deposit amount varies by payment method. Check the Billing section for current requirements.
How do I avoid instance interruptions?
Section titled “How do I avoid instance interruptions?”Enable auto-recharge in the Billing settings to automatically add funds when your balance falls below a threshold.
Can I change the disk size after deployment?
Section titled “Can I change the disk size after deployment?”No, disk size is permanent. Allocate more space than you think you need to avoid interruptions.
What happens if my balance runs out?
Section titled “What happens if my balance runs out?”Running instances will automatically stop. Storage will continue to accrue charges until released.
6. Next Steps
Section titled “6. Next Steps”- Explore Templates: Browse available templates for different AI frameworks and applications
- Learn SSH Commands: Familiarize yourself with basic SSH commands for instance management
- Set Up Monitoring: Configure alerts for instance performance and billing
- Explore Advanced Features: Learn about custom templates, shared storage, and API access
- Read the Documentation: Check out our VMs documentation for more detailed information
Support
Section titled “Support”If you encounter any issues, please contact our support team through the Medjed.ai dashboard or email us at support@medjed.ai.